Kaillou

How to Identify a Rock from a Photo
You picked up a rock and want to know what it is. A good photo often gives you a solid lead toward putting a name on it. Color, luster, crystal shape, the grain of the rock: everything you can see should show up in the picture. Here’s how to get it right, and how to fill in what a photo can’t show.
A word before you take a rock home: in the US, it depends on who owns or manages the land. On private land, ask the owner first. In national parks, removing rocks and minerals is prohibited, with very few exceptions. On most Bureau of Land Management land, you can generally collect reasonable amounts for personal, noncommercial use, except in some areas such as developed recreation sites or active mining claims. Elsewhere, including state parks and beaches, rules vary by state and by land manager. When in doubt, check with the land manager, or photograph it where you found it.
Prepare the rock
Brush off dirt and dust with a soft brush, unless the rock is fibrous or crumbly: in that case, leave it as it is. A rock covered in mud loses its color and its luster, and you end up photographing the mud. No household cleaners and no acid: they can damage some minerals.
One exception: if the rock is heavy, dark and looks like a meteorite, don’t clean it and don’t wet it. Read how to tell if a rock is a meteorite instead.
Take a good photo
- Daylight, out of direct sun. Near a window or outdoors in the shade. Harsh sunlight washes out colors and creates glare; so does the flash.
- A plain, neutral background. A sheet of white or gray paper, or a table with no pattern. The background shouldn’t steal the show from the rock.
- Close up and sharp. The rock should fill most of the frame. Tap the screen to focus on it.
- Several angles. One side can be misleading: shoot the other side too, plus a close-up of the crystals or grains if there are any.
- A size reference. A ruler or a coin set next to it, in a separate photo, keeps a record of the actual size, useful for identification as well as for value.
- Where you found it. Note where you picked it up: a beach, a river, a field, bedrock. It’s a valuable clue.
Wet or dry?
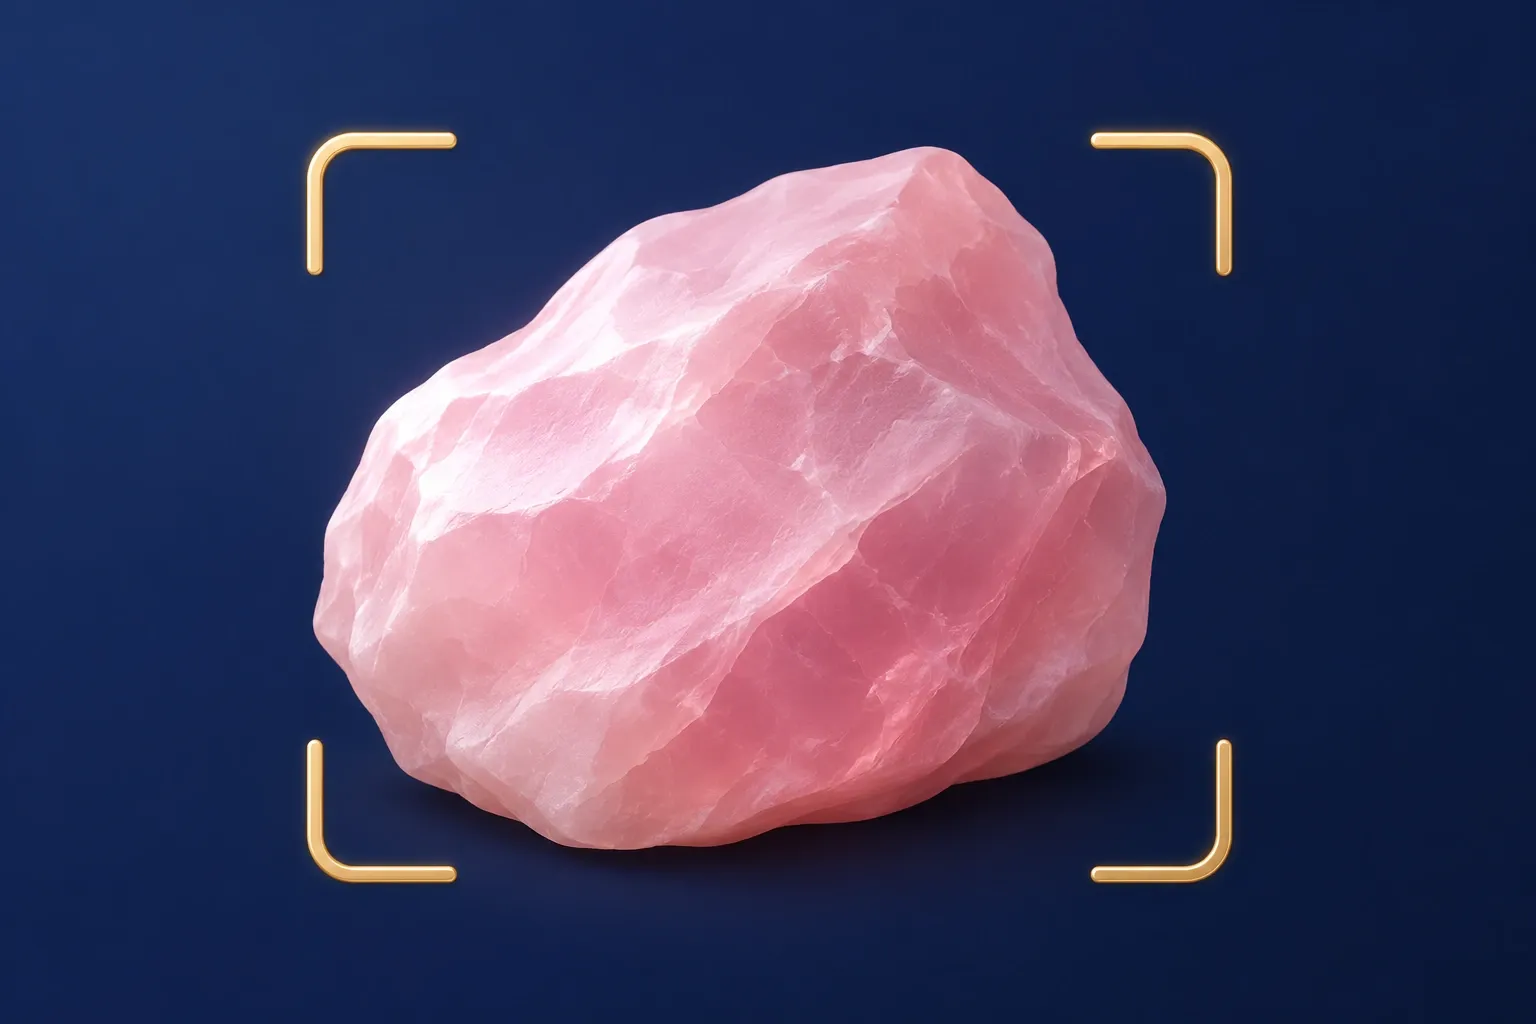
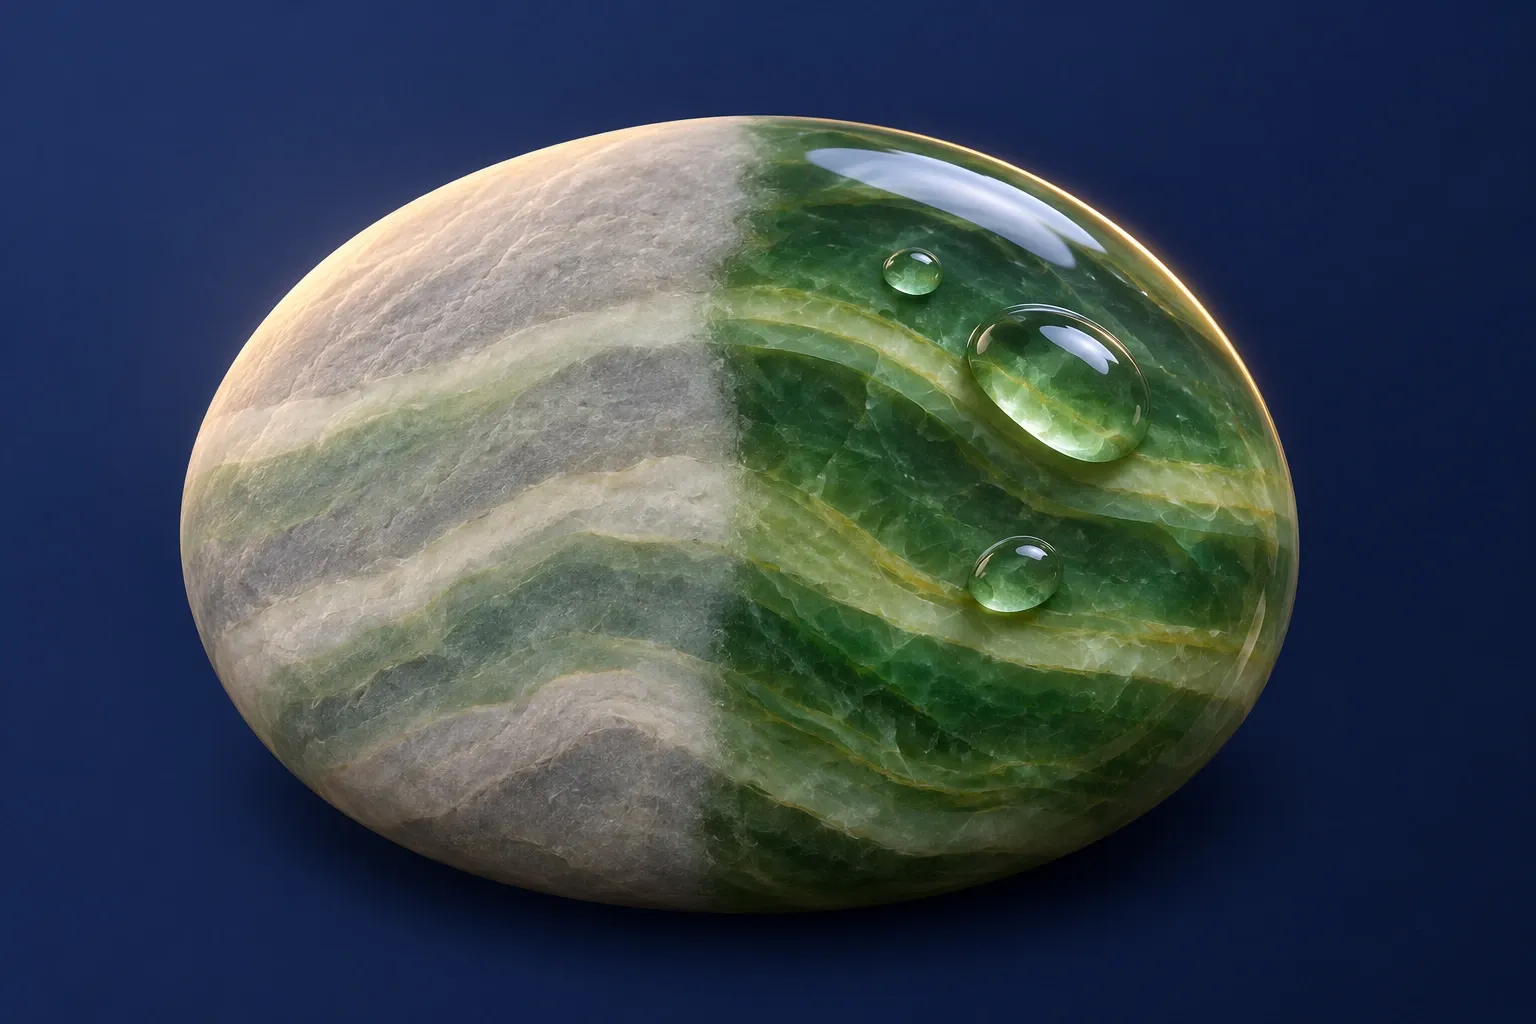
On a beach, wet pebbles look more colorful than they do once dry. Water changes the way the surface reflects light: colors, veins and bands stand out more. If your rock looks dull, take one photo dry, then another after running it under water, and keep both.
Don’t wet a rock that crumbles, a soft, powdery rock, possible rock salt, which dissolves in water, or a possible meteorite.
Show the inside if you can
The surface of a rock that has spent a long time outdoors weathers. It can develop a crust, often reddish yellow from iron oxides, that hides its true color. Some rocks also have an original outer layer. Flint is the perfect example: its cortex, formed at the same time as the flint itself in chalk or limestone, is pale and chalky, while its core is gray or black, smooth and shiny.
A fresh break shows the rock as it really is. If your rock is already broken, photograph the break. If it’s a piece of common rock, with no crystals or fossils, you can knock off a chip with a hammer, in a single well-placed blow. Wear goggles and gloves, and wrap the rock in a cloth: the chips are sharp. Never break a fine crystal, a fossil or a rock that might be valuable, and when in doubt, ask for advice before you strike.

What a photo can’t tell you
Some rocks look too much alike to be told apart from a picture. Three simple tests, with things you have at home, give you extra clues.
- Hardness. Glass has a hardness of about 5.5 on the Mohs scale. Quartz (7) scratches a worthless piece of glass laid flat on a table; calcite (3), which can look similar, doesn’t. Then rub with your finger: a real scratch doesn’t wipe off, a streak of powder does. Minerals other than quartz also scratch glass: it’s a clue, not proof.
- Vinegar. A drop of vinegar on limestone makes tiny bubbles: the acid releases carbon dioxide. The reaction is weak, so look closely, with a magnifying glass if you can. Granite and quartz don’t react, but no visible bubbles doesn’t entirely rule out a limestone-type rock. Test on an inconspicuous spot, then rinse: the acid marks the rock.
- Weight and feel. A rock that is very heavy for its size probably contains dense minerals, like the iron ores hematite or magnetite: it’s a clue to weigh against the others. Shiny flakes that peel off under your fingernail in thin, elastic sheets, springing back into shape after a slight bend, are mica, not gold.
An example: granite is easy to recognize in a photo, from its interlocking grains of gray quartz, white or pink feldspar and black mica. A smooth white pebble, on the other hand, could be quartz or limestone: the glass or vinegar test helps you decide.
Identify a rock with Kaillou
Kaillou does the comparison work for you. Take a photo of the rock in the app, on a neutral background and in good light, out of direct sun: it compares the image with the 192 stones in its collection and suggests the most likely match, along with the stone’s profile. There you’ll find how to recognize it, how to tell it apart from its imitations, where it’s found, its history and an indicative estimate of its value based on its size, which doesn’t replace an appraisal of your stone. Each stone you identify then joins your collection.
If the result leaves you unsure, take another photo from a different angle, wet or of a break, and read the part of the profile that explains how to tell it apart from similar stones. The app is free to download and gives you a first scan, value estimate included, so you can try it out; after that, scans are part of the Kaillou Premium subscription.
Sources
- Mohs scale, Wikipedia
- Limestone, Wikipedia
- Flint, Wikipedia
- Weathering rind, Wikipedia
- Mica, Granite, Halite, Hematite and Magnetite, Wikipedia
- The acid test for carbonate minerals and rocks, Geology.com
- Recreational Collection of Rocks and Minerals: Legal Instruments, National Park Service
- 36 CFR 2.1, Preservation of natural, cultural and archeological resources, Code of Federal Regulations (Legal Information Institute, Cornell Law School)
- Rockhounding, Bureau of Land Management